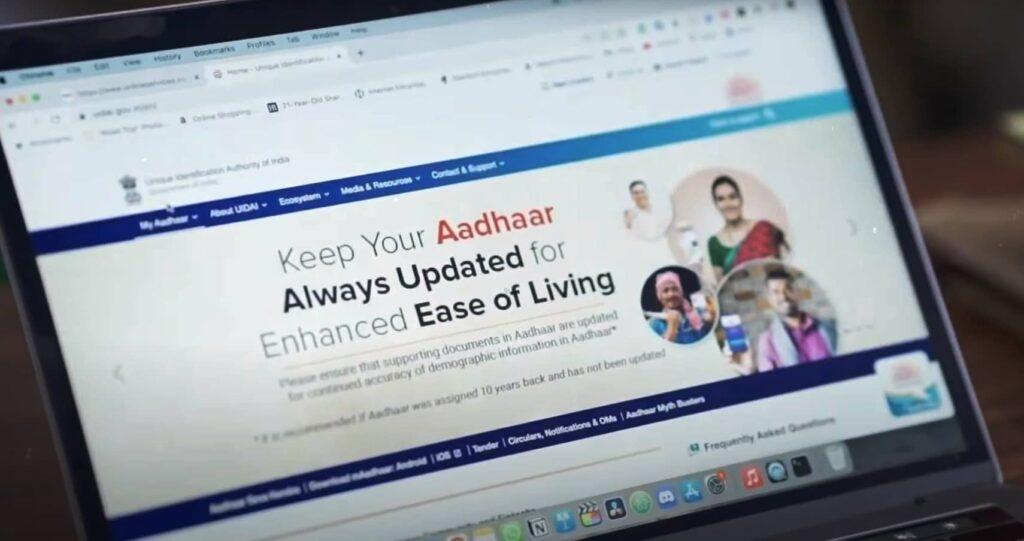
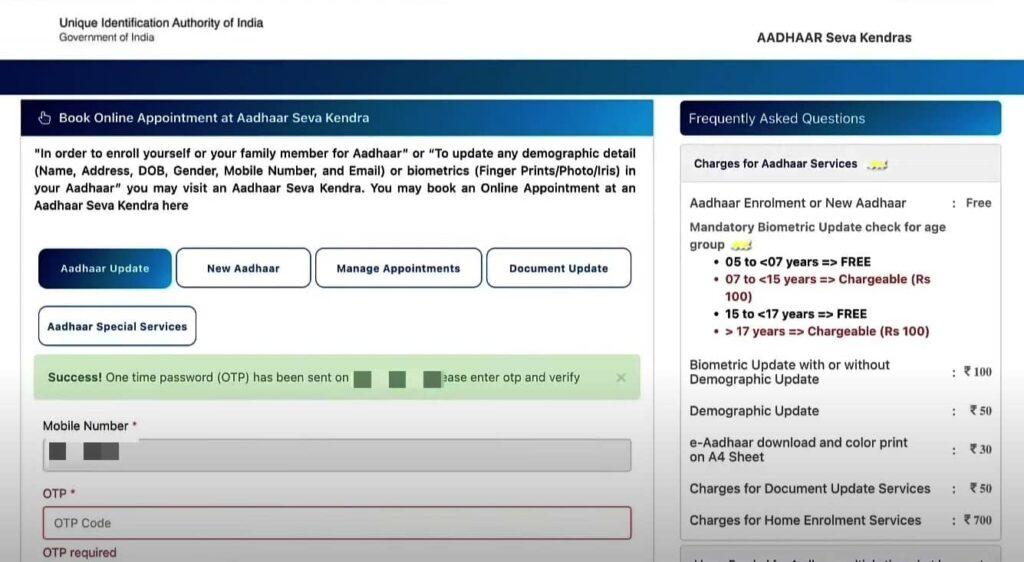
Ensure your Aadhaar card is up-to-date! Learn how to effortlessly change your mobile number with our quick guide.
Why You Absolutely Need an Aadhaar Card
Hello, folks! Let’s chat about why having an Aadhaar card isn’t just a good idea—it’s essential! This little card is more than just another ID; it’s your golden ticket to a slew of services and benefits in India. So, why exactly is it mandatory? Let’s dive right in!
It’s Your Identity Wingman
First things first, your Aadhaar card is like your identity wingman. It confirms who you are almost everywhere. Need to open a bank account? Show your Aadhaar card. Want to apply for a passport? Yup, your Aadhaar card to the rescue again! It’s universally accepted across government and private sectors, making your life unbelievably easier.
A Gateway to Government Benefits
Now, if you’re wondering about those government benefits, here’s the scoop. The Aadhaar card ensures that the benefits of various welfare schemes reach the right person. This means no more middlemen eating up the benefits meant for you. From subsidies on cooking gas to scholarships and pensions, your Aadhaar card makes sure you get what you’re entitled to, directly and efficiently.
Simplifying Your Life
Lastly, this little card simplifies your life in ways you wouldn’t imagine. Tired of carrying a stack of documents for verification? Well, your Aadhaar card consolidates much of your personal information in a single place. It even helps in making seamless transactions and verifications online, thanks to its unique 12-digit number linked to your biometric data. Talk about high-tech convenience!
Change Your Mobile Number in Aadhaar Card
Hey there! Ever wondered why it’s crucial to keep your Aadhaar card updated, especially your mobile number? Well, let’s break it down with some light-hearted banter and see why it’s super important to stay updated.
Stay Connected, Stay Updated
First off, your mobile number is like a bridge connecting you to your Aadhaar services. When you change your mobile number in your Aadhaar card, you ensure that all communication regarding your Aadhaar stays in your loop. No more missing out on important updates or verification codes. It’s all about making life easier, right?
Smooth Sailing Through Services
Updating your mobile number isn’t just about staying informed. It’s about smooth transactions and hassle-free access to services linked to your Aadhaar. Whether it’s e-verifying your tax returns, or using the DigiLocker, having the right mobile number updated in your Aadhaar card means everything flows just a bit more smoothly. Imagine not having to wait or jump through hoops just because your old number was still on file. Not fun, right?
A Simple Step for Security
Here’s a kicker—security! Changing your mobile number in your Aadhaar card is a big step toward securing your identity. It ensures that only you can access your Aadhaar-linked services and make changes when needed. Think of it as keeping the keys to your digital identity only in your pocket. No one else gets in without your say-so!
How to Change Your Mobile Number in Aadhaar Card: A Simple Guide
If you’ve been scratching your head about how to change your mobile number in your Aadhaar card, fret not! Here’s a step-by-step guide that will clear up the confusion and get your Aadhaar details up to date in no time. Let’s make this update as smooth as your favorite playlist!
Step 1: Visit Your Nearest Aadhaar Center
First things first, grab a copy of your current Aadhaar card and an ID proof. You’ll need to visit an Aadhaar Enrollment Center. Why? Because changes to your mobile number can’t be done online—safety first, folks! Find your nearest center by visiting the UIDAI website. It’s pretty handy and will point you in the right direction.
Step 2: Fill Out the Update Form
Once you’re at the center, ask for the Aadhaar Update Form. Fill it out carefully—no rushing this one! Make sure to write your new mobile number clearly; no typos allowed here. Double-check your info to make sure everything is tip-top. This form is your ticket to a smoother Aadhaar experience, so fill it out with care.
Step 3: Submit Your ID Proof
Along with your update form, you’ll need to provide a photocopy of your ID proof. This could be your passport, PAN card, or any government-issued ID. This step is crucial for verifying your identity and ensuring that everything is on the up and up. Hand these over to the Aadhaar officer, and you’re halfway there!
Step 4: Biometrics Verification
Here comes the high-tech part! You’ll need to undergo biometric verification at the center. This means scanning your fingerprints and possibly your iris. This step ensures that the update request is genuinely coming from you. It’s quick, easy, and kind of feels like being in a spy movie, right?
Step 5: Collect the Acknowledgment Slip
After your biometrics, you’ll receive an acknowledgment slip. Keep this safe—it’s important! This slip confirms that your request to change your mobile number in your Aadhaar card has been submitted. It includes an Update Request Number (URN) that you can use to track the status of your update. It’s like a tracking number for your online shopping, but for your Aadhaar.
Step 6: Track Your Update
You can track the status of your mobile number update through the UIDAI website. Just enter your URN and Aadhaar number, and voila! You’ll see if your update is still processing or if your new number has been linked to your Aadhaar. This way, you’re not left wondering what’s happening.
Step 7: Confirmation
Once your update is processed, you’ll receive a confirmation SMS on your new mobile number. This message is the green light signaling that your new number is now linked with your Aadhaar card. Now, you can enjoy all Aadhaar services without a hitch, and with your current number!
So there you have it—a straightforward guide to changing your mobile number in your Aadhaar card.
Alternate Method: How to Change Your Mobile Number in Aadhaar Card Online
Who doesn’t love the convenience of updating details from the comfort of home? If you’re nodding in agreement, you’ll be thrilled to know that you can change your mobile number in your Aadhaar card online. No queues, no waiting! Here’s a simple guide to walk you through each step.
Step 1: Get Started on the UIDAI Portal
Kick things off by visiting the official UIDAI website. This is your gateway to all things Aadhaar. On the homepage, you’ll find the ‘My Aadhaar’ section. Hover over it and click on ‘Update demographics data online’. It’s like starting a new adventure, but instead of a map, you have your mouse!
Step 2: Log In Using Your Aadhaar Number
Once you click on the update link, you’ll be asked to enter your Aadhaar number. Go ahead and type it in. Then, hit ‘Send OTP’. An OTP (One-Time Password) will be sent to your existing registered mobile number. This is just to make sure it’s really you trying to make changes. Enter this OTP to proceed—it’s your secret key to unlock the next steps!
Step 3: Select What You Want to Update
Now that you’re in, you’ll see various options for updating your Aadhaar details. Since we’re focus on the mobile number, select the ‘Mobile Number’ option. It’s as easy as choosing what to watch on Netflix, except faster!
Step 4: Enter Your New Mobile Number
Here’s where you key in your new mobile number. Make sure you type it correctly—no room for mistakes here! After entering your new number, click on ‘Submit Update Request’. This is like saying, “Yes, I want this number to be my new Aadhaar buddy!”
Step 5: Verify and Confirm Your Details
After submitting your new number, you’ll get a chance to review all the details you’ve entered. Take a moment to double-check everything. If all looks good, click on ‘Confirm’. It’s a bit like confirming your order at a restaurant, except it’s for your Aadhaar, not your dinner.
Step 6: Upload Supporting Documents
Even online, you need to prove that the update request is legit. You’ll be asked to upload scanned copies of supporting documents. This could be a government-issued ID or a letter containing your address and new mobile number. Think of it as showing your ID at the club door—necessary for entry!
Step 7: Make the Payment
Yes, there’s a small fee involved—currently, it’s INR 50. This can paid via credit/debit card, net banking, or UPI. It’s like buying a ticket to a smoother, more updated Aadhaar experience.
Step 8: Track Your Update
After payment, you’ll receive an Update Request Number (URN). Save this number! You can use it to track the status of your update on the UIDAI website. Just enter the URN and your Aadhaar number, and you’ll know exactly where your request stands.
Step 9: Wait for Confirmation
Once your request is process, you’ll receive a confirmation SMS on your new mobile number. This message is the all-clear sign that your Aadhaar now recognizes your new number. Congratulations, you’ve successfully updated your mobile number without stepping out of your house!
Changing your mobile number in your Aadhaar card online is really that simple. No need to take time off work or stand in long lines. Just follow these steps, and you’re all set. Isn’t it wonderful how a few clicks can make life a little easier? Go ahead, give it a try and enjoy the convenience!

